V-Shape User Manual
Instructions How To Use

Functions
- Skin Tightening, Body Shaping/Slimming, Fat Reduction
- Reduce Cellulite
- Face Lifting/Reducing Double Chins
- Reducing Neck/Shoulder Pain
V-Shape Machine Startup and Troubleshooting Guide
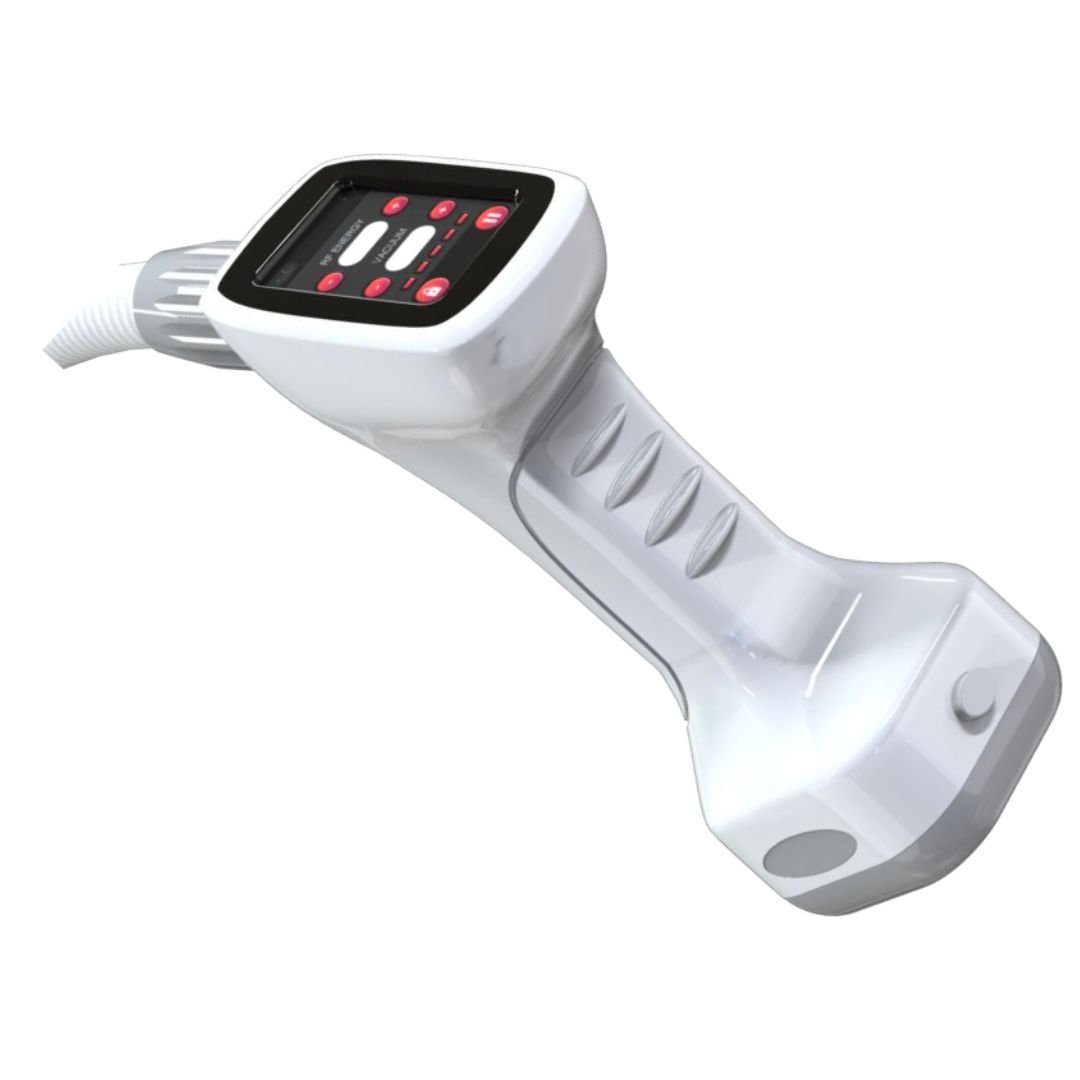
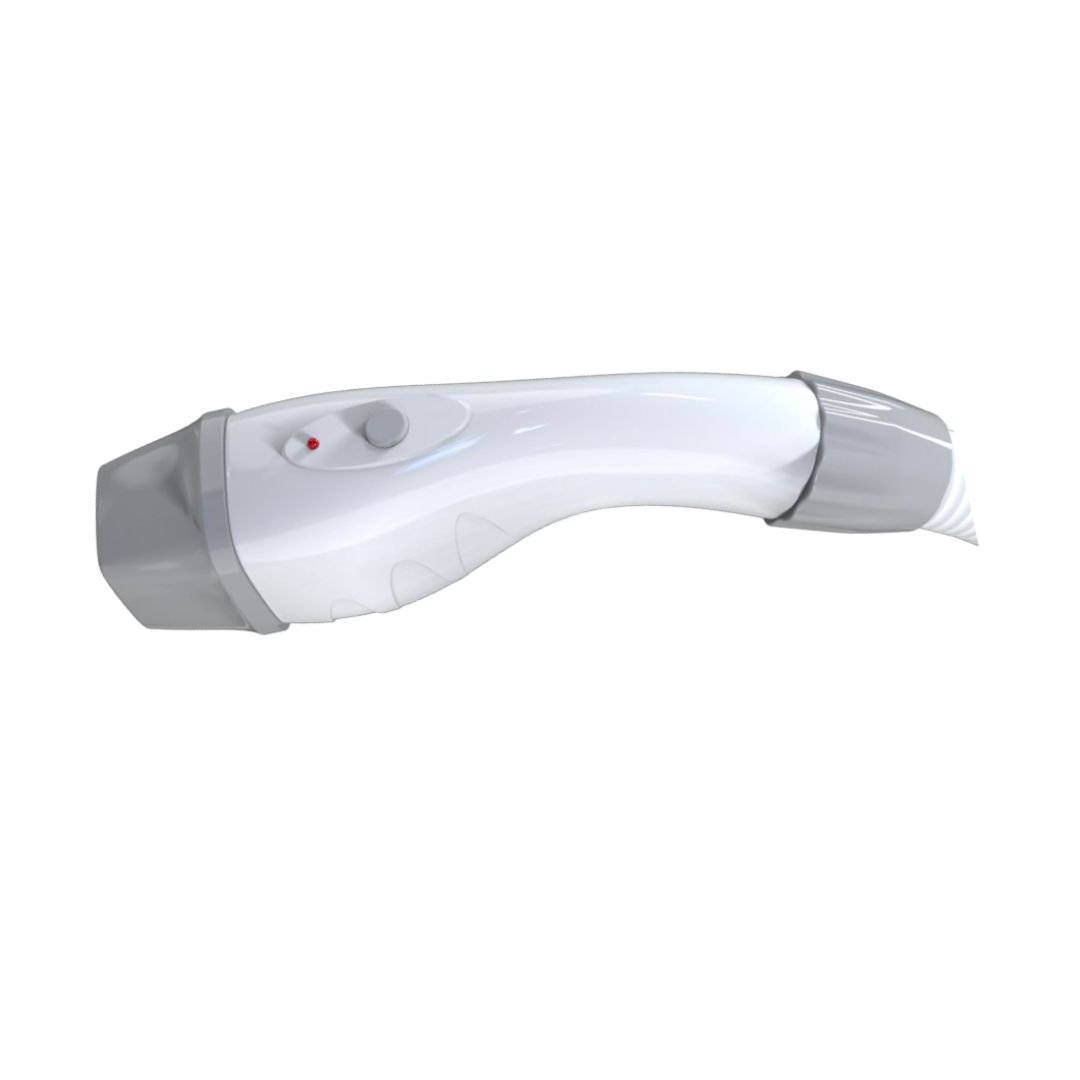
Operators should first familiarize themselves with the external structure of the V-Shape Body Contouring machine.
Power Supply—Turn on Air Switch—Emergency Stop Switch—KEY ON/OFF Switch
If you cannot turn on the machine, please check the Power Supply, Air Switch, Hand-Held Emergency Stop Switch, and KEY ON/OFF Switch in sequence. If the machine still does not work, please contact the after-sales service engineer to check the machine.

")

Big Vacuum Roller Treatment Head
Treats Back and Abdomen for Skin Tightening and Fat Reduction
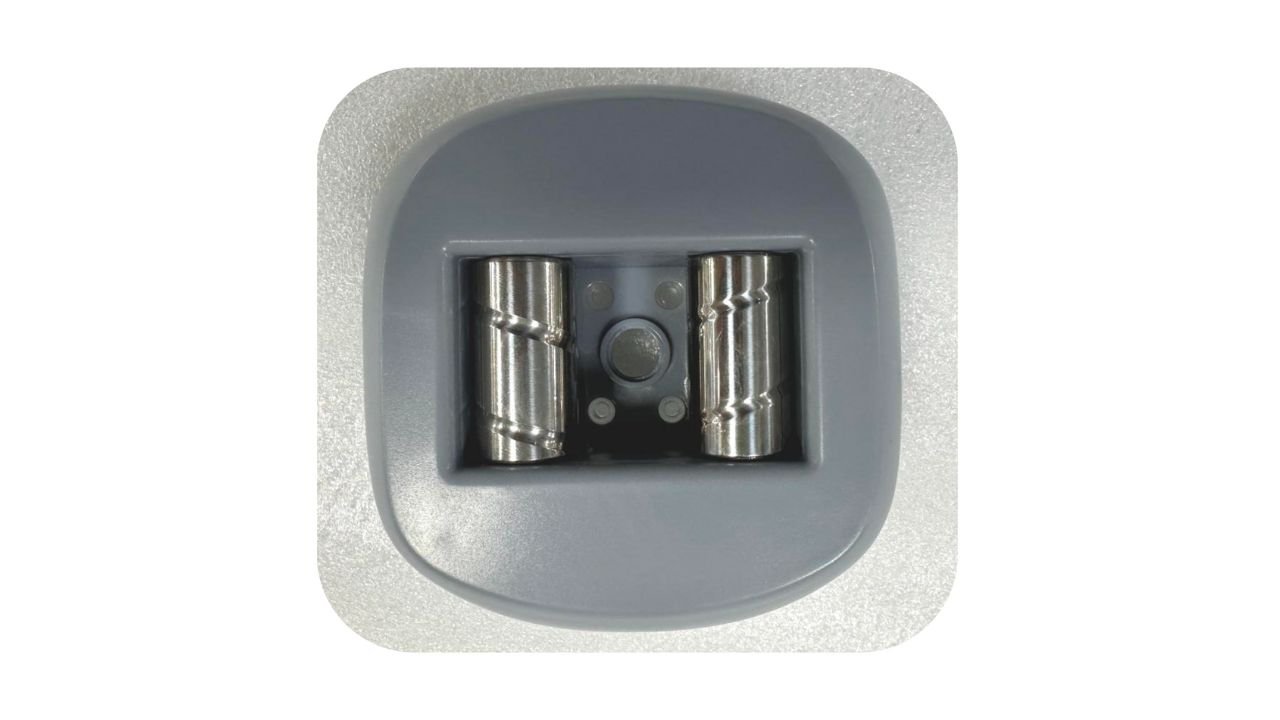
Small Vacuum Roller Treatment Head
RF Treatment Head
Treats Face and Neck for Skin Tightening.
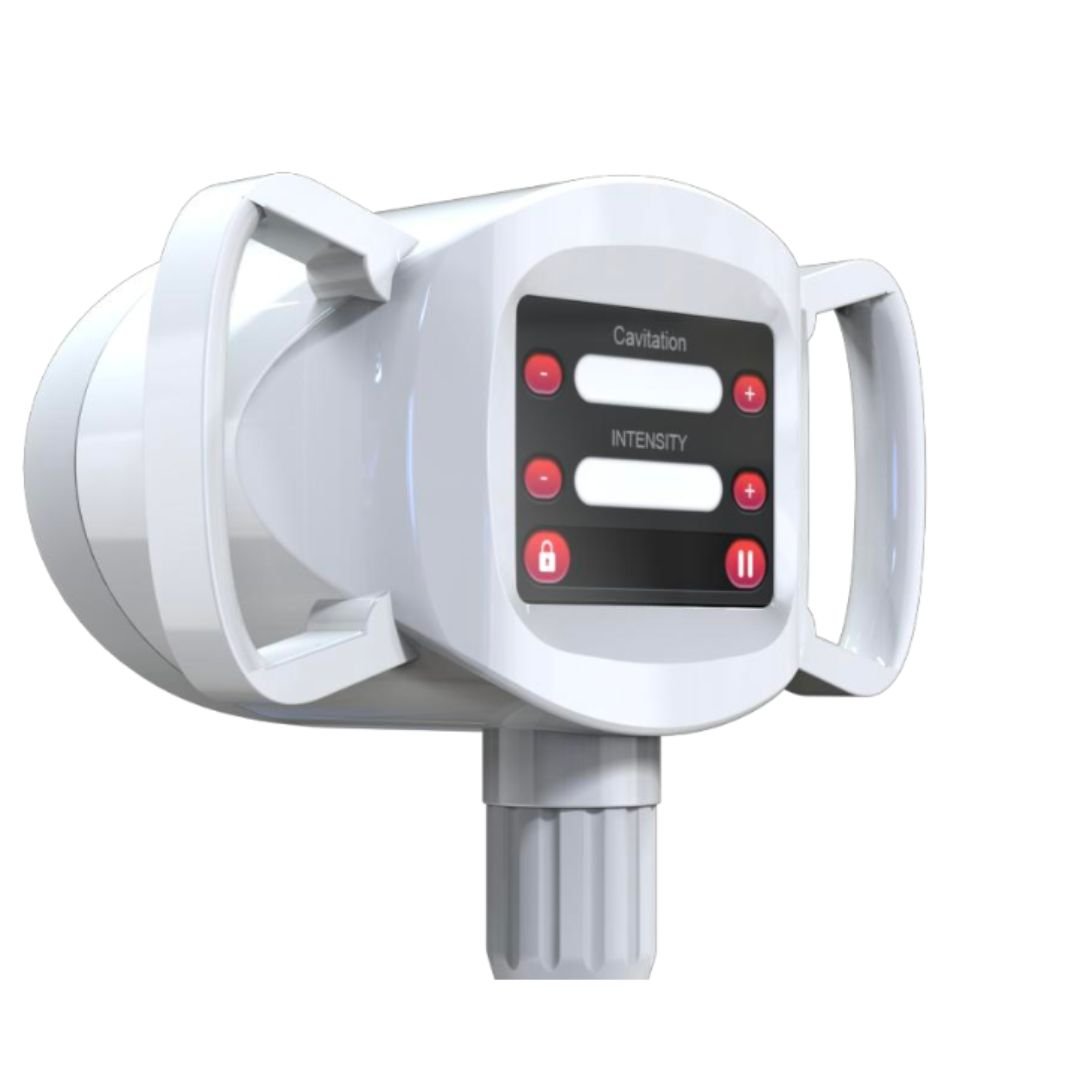
Cavitation Treatment Head
For Abdomen Fat Reduction
Potential Hazards
Scalds seldom occur, but they may cause scabs on the skin’s epidermis. These can usually heal naturally.
Maintenance
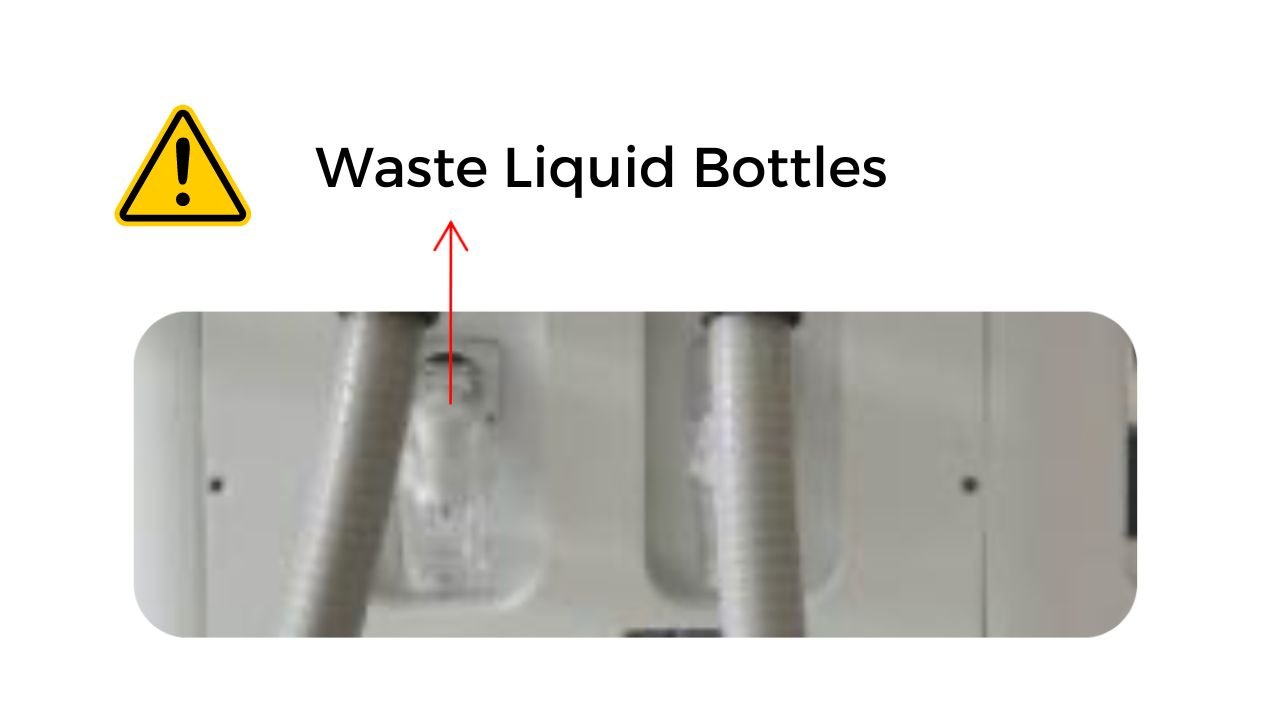
Waste Liquid Bottles
1. Clean the waste liquid bottles regularly and in a timely manner. Insert or pull the bottles to install or remove them.

Cleaning Treatment Heads
Clean the treatment heads with alcohol after each treatment. If a treatment head is soaked in liquid, please blow it dry before use.
Attention
Do not turn off the system while the treatment head is working. Please turn off the system before removing the treatment head.
Screen Display


|
RF Energy |
You can adjust RF Energy from 1-60. |
|
VACUUM |
You can Vacuum Absorption Level from 1-8. |
|
INTENSITY |
Display Real-Time Vacuum Absorption Level |
|
IR |
You can adjust Infrared Energy from 0-20W. |
|
RELEASE |
You can adjust Vacuum Release duration from 0.5- 5 seconds. |
|
SUCK |
You can adjust Vacuum Suction duration from 1-15 seconds. |
|
Time (min) |
Working time is 60 minutes countdown, not adjustable. |
|
BACK |
Click “BACK” return to the previous screen. |
|
WORK |
Click “WORK” and the treatment head starts working. |
|
Click this button to return to Treatment Head Selection Screen directly. |
|

|
RF Energy |
You can adjust RF Energy from 1-60. |
|
VACUUM |
You can Vacuum Absorption Level from 1-8. |
|
IR |
You can adjust Infrared Energy from 0-20W. |
|
RELEASE |
You can adjust Vacuum Release duration from 0.5-5 seconds. |
|
SUCK |
You can adjust Vacuum Suction duration from 1- 15 seconds. |
|
INTENSITY |
“INTENSITY” isVacuumAbsorptionLevel. |
|
Time (min) |
Working time is 60 minutes countdown, not adjustable. |
|
BACK |
Click “BACK” return to the previous screen. |
|
WORK |
Click “WORK” and the treatment head starts working. |
|
Click this button to return to Treatment Head Selection Screen directly. |
|

|
RF Energy |
You can adjust RF Energy from 1-60. |
|
VACUUM |
You can Vacuum Absorption Level from 1-8. |
|
INTENSITY |
Display Real-Time Vacuum Absorption Level |
|
IR |
You can adjust Infrared Energy from 0-20W. |
|
RELEASE |
You can adjust Vacuum Release duration from 0.5- 5 seconds. |
|
SUCK |
You can adjust Vacuum Suction duration from 1-15 seconds. |
|
Time (min) |
Working time is 60 minutes countdown, not adjustable. |
|
BACK |
Click “BACK” return to the previous screen. |
|
WORK |
Click “WORK” and the treatment head starts working. |
|
Click this button to return to Treatment Head Selection Screen directly. |
|

|
Cavitation Energy |
You can adjust RF Energy from 1-20. |
|
VACUUM |
You can Vacuum Absorption Level from 1-8. |
|
RELEASE
|
You can adjust Vacuum Release duration from 0.5- 5 seconds. |
|
SUCK |
You can adjust Vacuum Suction duration from 1-15 seconds |
|
INTENSITY |
“INTENSITY” is Vacuum Absorption Level. |
|
Time (min) |
. Working time is 60 minutes countdown, not adjustable. |
|
BACK |
Click “BACK” return to the previous screen. |
|
WORK |
Click “WORK” and the treatment head starts working. |
|
Click this button to return to Treatment Head Selection Screen directly. |
|

Contraindications:
- Patients with a pacemaker or Implantable Cardioverter Defibrillator are not allowed to undergo treatment.
- Patients with metal materials or other prostheses and fillings in the treatment area are not allowed to undergo treatment.
- Pregnant women are not allowed to undergo treatment.
- Patients with wounds or unhealed wounds are not allowed to undergo treatment.
- Patients with skin diseases (vitiligo, psoriasis, herpes, or a medical history of skin cancer) are not recommended for treatment.
- Patients with severe diseases (heart disease, diabetes mellitus, etc.) are not recommended for treatment.
- Photosensitive patients or those taking photosensitive drugs are not recommended for treatment.
- Patients who have been sunburned within the past two weeks are not recommended for treatment.
- Women are not recommended for treatment during their menstrual period.
For the contraindications listed above, patients who are “not recommended for treatment” are not necessarily forbidden from treatment. They should consult with their doctors to determine whether they can undergo treatment or follow a treatment scheme, and they should be informed of potential hazards.
Small Vacuum Roller Treatment Head
Treat Neck, Shoulders, Arms, Legs, Waist

- Clean and disinfect the treatment area.
- Apply RF cream or essential oil to the treatment area.
- Start treatment with VACUUM set to 2-3. Adjust VACUUM according to the patient’s tolerance. Try to adjust RF Energy starting from 30. Adjust the sliding speed. The best parameters are achieved when the patient feels warmth. If the patient feels pain, it may be caused by excessive Energy or a low sliding speed.
- Move the treatment head according to the arrow directions shown in the pictures.
- Dry the skin after treatment. Avoid bathing or showering for 5 hours.
- Redness and bruising on the skin after treatment can heal within 1 week.
Cavitation Treatment Head
For Abdomen Fat Reduction

- Apply a thin layer of essential oil to the treatment area (as shown in the picture).
- Choose the Cavitation Treatment Head with Energy set to 5-10 and VACUUM set to 2-3. The treatment head should catch (suck) the skin and release Energy. After the VACUUM pressure releases, move the treatment head 1 cm and continue treatment. Working time: 15-20 minutes.
- Then choose the Vacuum Roller Treatment Head and continue treatment.
Big Vacuum Roller Treatment Head
Treat Back, Abdomen

- Clean and disinfect the treatment area, then apply RF cream or essential oil.
- Start treatment with VACUUM set to 2-3. Adjust VACUUM according to the patient’s tolerance. Try to adjust RF Energy starting from 30. Adjust the sliding speed. The best parameters are achieved when the patient feels warmth. If the patient feels pain, it may be caused by excessive Energy or a low sliding speed.
- REV (Roller Speed): 3 rpm
- SUCK: 15 seconds
- RELEASE: 1 second
- Adjust SUCK and RELEASE according to the treatment speed. (Before treatment, apply for 1-2 passes, similar to cupping, so patients can adapt to the vacuum pressure. Patients who are not sensitive to the vacuum can accept roller treatment directly.)
- Move the treatment head according to the arrow directions shown in the pictures.
- Dry the skin after treatment. Avoid bathing or showering for 5 hours.
- Redness and bruising on the skin after treatment can heal within 1 week.
Notes During Treatment
- When treating the face, the treatment head should be in flat contact with the skin. Do not press the treatment head with force or keep it tilted.
- Avoid treatment on the clavicle area.
- To avoid severe bruising on the skin, the Vacuum Absorption Level should not be too high.
- Best efficacy is achieved when the patient feels warmth. Adjust RF Energy within the patient’s tolerance. To avoid scalding, RF Energy should not be too high.
- When using the Cavitation Treatment Head, to avoid blockage from too much essential oil, only a thin layer of essential oil on the skin is necessary.

Bruise
Bruising may occur on the skin, and the patient may feel pain. (Pain typically lasts less than 3 days.)
Cause: Over-high VACUUM
Solutions: Bruising usually takes 1-2 weeks to heal naturally.
How to Prevent Bruising: Reduce bruising by lowering the VACUUM level.
Treatment Sessions |
|||
|
Body Parts |
Interval/Weeks |
Treatment Sessions |
Each Treatment Time (Minutes) |
|
Face |
2-3 |
3-6 |
20-30 |
|
Surrounding Eyes |
2-3 |
3-6 |
15-20 |
|
Neck |
2-3 |
4-8 |
20-30 |
|
Back |
4-5 |
4-8 |
30-40 |
|
Neck, Shoulders |
4-5 |
4-8 |
15-20 |
|
Abdomen |
3-4 |
4-8 |
30-40 |
|
Treatment Head |
Working Time (Minutes) |
RF Energy |
VACUUM (Level) |
SUCK (Seconds) |
RELEASE (Seconds) |
IR |
|
Big Vacuum Roller |
Relax on Back for 1-2 Passes |
30-50 |
2-5 |
2 |
0.5-1 |
5-8 |
|
Treat with Roller (Sliding) for 30 Minutes. |
30-50 |
2-5 |
15 |
0.5-1 |
5-8 |
|
|
Small Vacuum Roller |
Treat with Roller (Sliding) for 15-30 Minutes. |
30-50 |
2-3 |
15 |
0.5-1 |
5-8 |
|
RF (Face Treatment) |
Slide the treatment head to treat for 20 minutes. |
10-20 |
1-2 |
3-5 |
0.5-1 |
3-5 |
|
Treatment Head |
Working Time (Minutes) |
Cavitation Energy |
VACUUM (Level) |
SUCK (Seconds) |
RELEASE (Seconds) |
IR |
|
Cavitation |
Centered with navel, move the treatment head 1cm each time. Treat 30 minutes. |
5-10 |
2-3 |
1-2 |
0.5-1 |
— |